|
Dare Design DC-3 1:19 |
My current Project:
Newest model: DC-3 scale 1:19 Specifications: Wing Span: 60 in. Plane Length: 40.4 in. Wing Area: 409 sq. in. At the beginning of this project I tried
to find an interesting target for DC-3. This is the story how I made it.
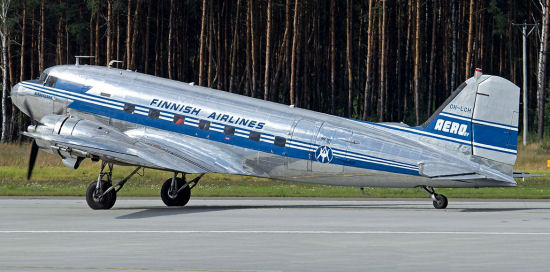
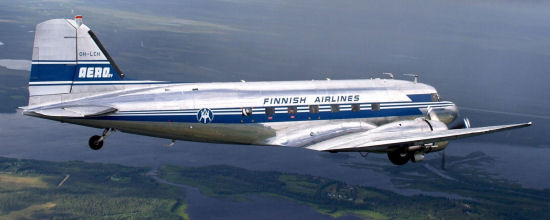
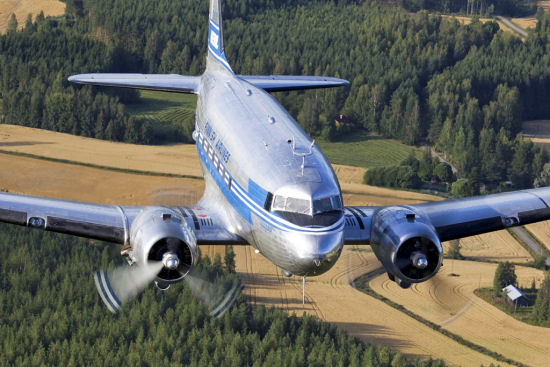
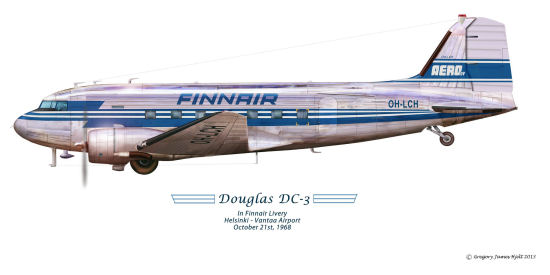
This is the target: Finnish DC-3 "AERO OH-LCH"
DC-3 "AERO OH-LCH" flying
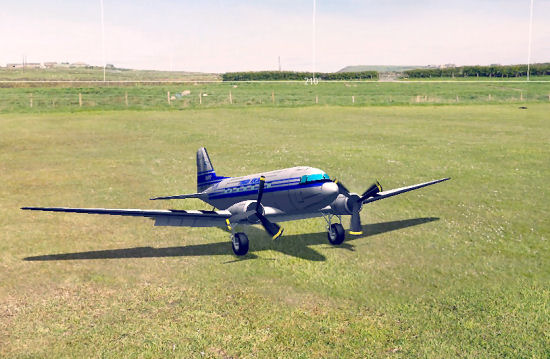
This is my DC-3 OH-LCH in Phoenix rc-simulator
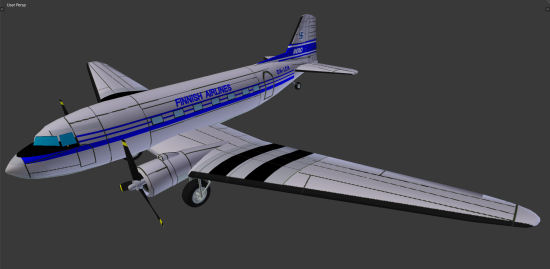
Another picture of OH-LCH for Phoenix-simulator Video in PhoenixRC Builder app by Rick:
Videos in PhoenixRC by Rick: This version OH-LCH, not in scale, is for downloading
here: Advices to modify own version is coming soon. Finnish present Fighter F/A-18 for Phoenix:
History of this DC-3
"AERO OH-LCH", flying to Turku Air-Show summer 2015 The History of AERO OH-LCH: Both Finnish and Swedish DC-3 arrive in Turku. In Finland, the DC Association voluntarily operates a DC-3 aircraft used by Finnair and the Air Force that is more than 70 years old and carries the registration mark OH-LCH. In Sweden, the Flygande Veteraner voluntarily flies a DC-3 aircraft with the registration number SE-CFP, once used by SAS and the Swedish Air Force, respectively. The OH-LCH arriving in Turku was built at Douglas Aircraft Company's factory in Santa Monica, California and was completed on Christmas Eve 1942 under type designation DC-3A-453, serial number 6346. The aircraft was originally ordered by Pan American Airways to operate 12/27/1942 From the spring to the fall of 1943, the place of service was the North Atlantic Department of Transportation and probably based in Presque Isle, Maine. In late autumn, Transport Aircraft moved the aircraft to the European division, where it reportedly operated in passenger transportation. In October 1944, the aircraft passed under the command of the 8th U.S. Air Force and, after the end of hostilities, was stored at the Oberpfaffenhofen depot in Germany. From there it was purchased for the Finnish state and registered on 19 June 1948 under the symbol OH-LCH. On July 21, 1948, it made its first scheduled flight in the service of Aero Oy on the route Malmi – Vaasa – Tampere – Malmi. The following winter, the aircraft was finally refurbished as a civilian passenger aircraft. By December 1960, there were 22,137 flight hours, when the aircraft was dismantled as spare parts. However, Aero, which changed its name to Finnair, needed cargo aircraft, and after the installation of a large cargo door, the reassembled aircraft was registered on June 25, 1963 with the former symbol. Finnair's last scheduled passenger flight on a DC-3 on 1 April 1967 was also entered in the aircraft's name. OH-LCH was sold to the Air Force on March 5, 1970 and received the code DO-11. In addition to the usual cargo and parachute flights, the plane is rumored to have had secret tasks. In 1985, the Air Force triplets retired. Some moved to the museum, some abroad and two to Airveteran Oy.
The Coloring picture, © Gregory James Hjelt 2013 How to compare rc-airplanes and
calculate the proportions with different dimensions: I have been on one flight with this DC-3, and it was something awesome!
If
you love flying you will love this DC-3 video
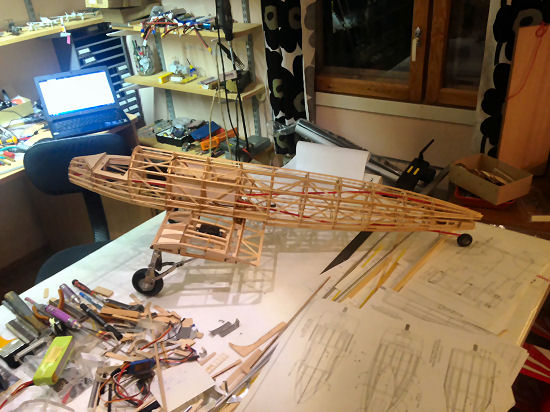
DC-3 is now recognisable
Shining in low light
The outer parts of the wing are coated
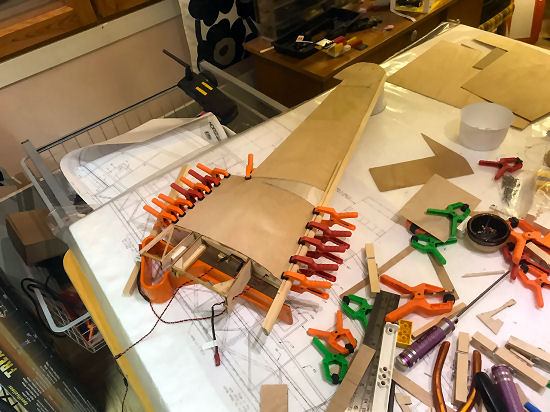
The upper side of the Wing is covered
The Ailerons and Flaps are fixed
The Frame Finalizing is going on
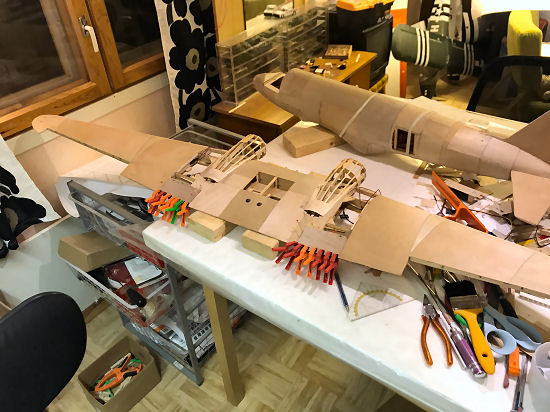
Frame and Wings are connected
|
|
Dare Design DC-3 1:19 |
RC
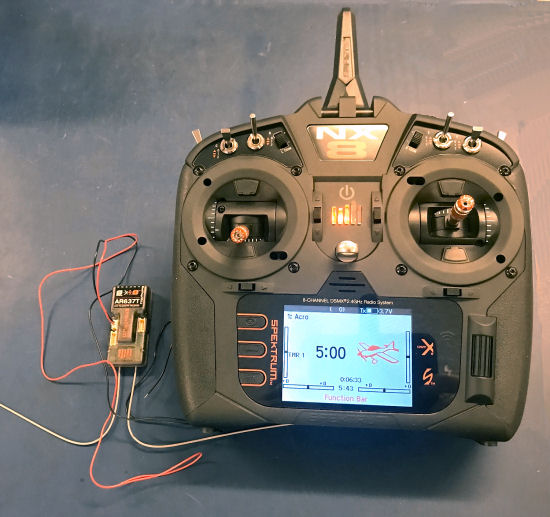
Spektrum NX8 and AR637T
New Spektrum NX8 with Telemetry
Receiver AR637T
Spektrum AR637T
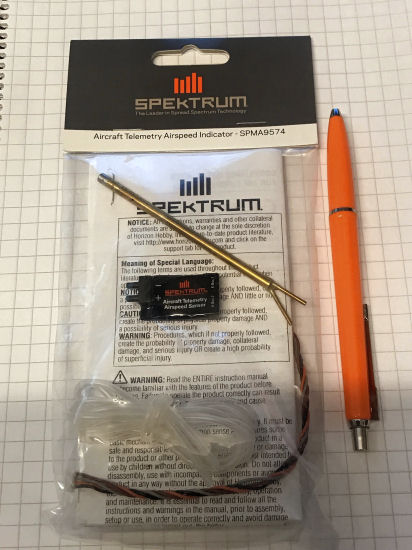
Spektrum Telemetry Airspeed IndicatorSPMA9574
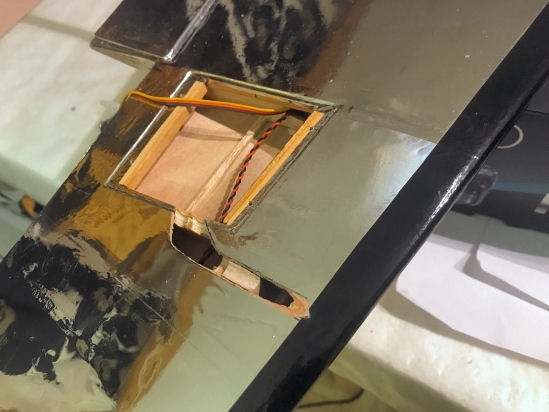
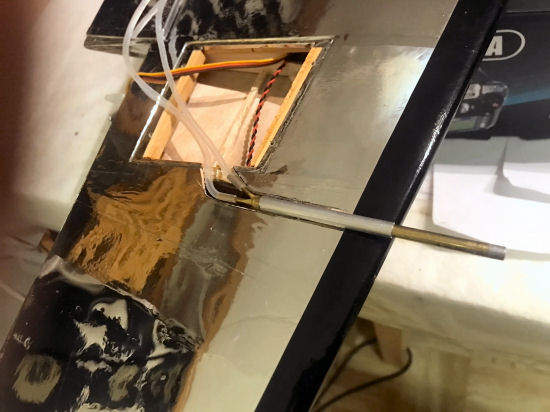
The Place for the Pitot-tube:
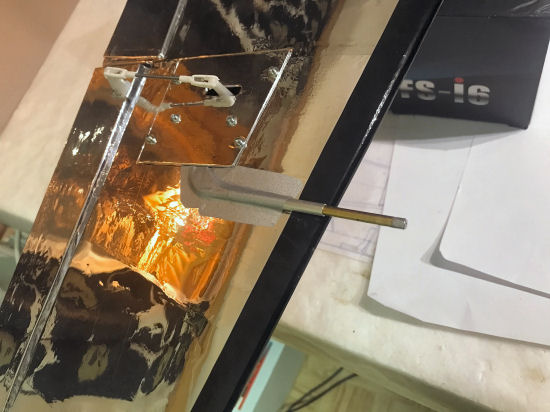
The Pitot-tube glued on it's place with Aluminium-mantle tube
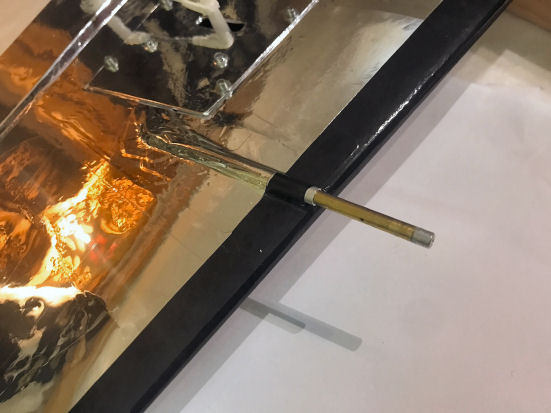
The Pitot-tube is covered for better fixing
That's it, looks fine
|
|
Dare Design DC-3 1:19 |
The starting point
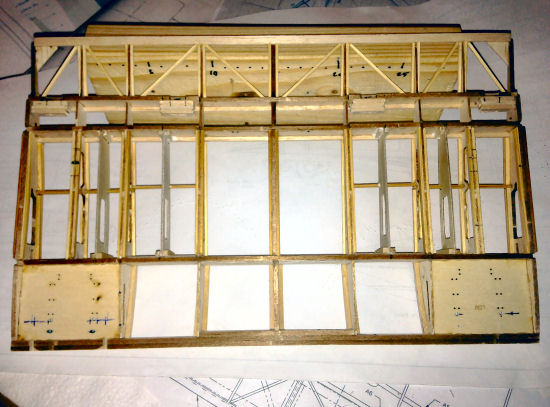
The frame is glued
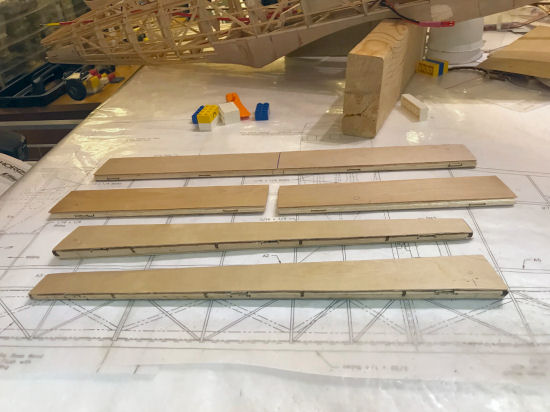
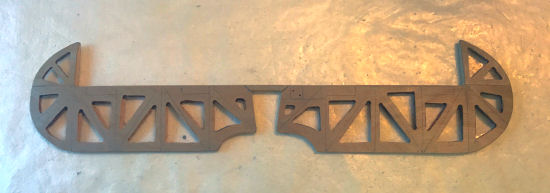
The FrameStrengthenings 1
The FrameStrengthenings 2
The FrameStrengthenings 3
The FrameStrengthenings 4
DC-3 is now recognisable
Adding the pinewood bars 2x3 mm to the
frame
Rubber rings used to keep the bars in place when the glue is drying
All the pinewood bars are in place
All the pinewood bars are in place 2
The Nose 1 The Nose 2
|
|
Dare Design DC-3 1:19 |
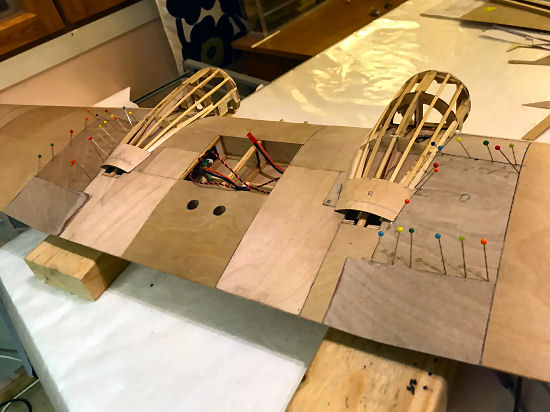
The leds are assembled, the upper side of the wing is still uncovered
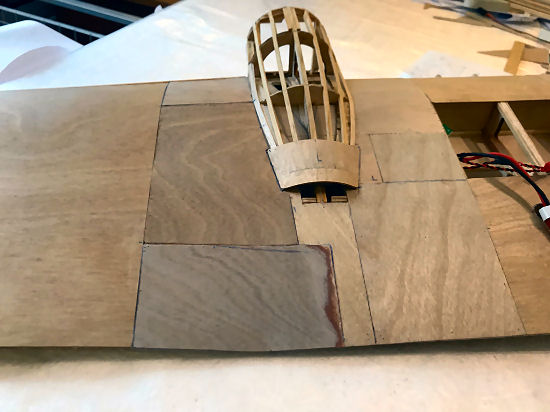
Covering the Upper side of the Wing
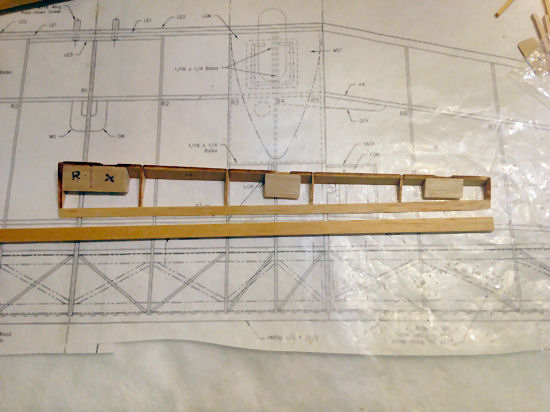
The Wing is united and the Upperside rear Edge is Reinforced
The Reinforce balsa blocks are also reinforced with 1/64" Plywood on both sides
Covering and Reinforcing of the Wing
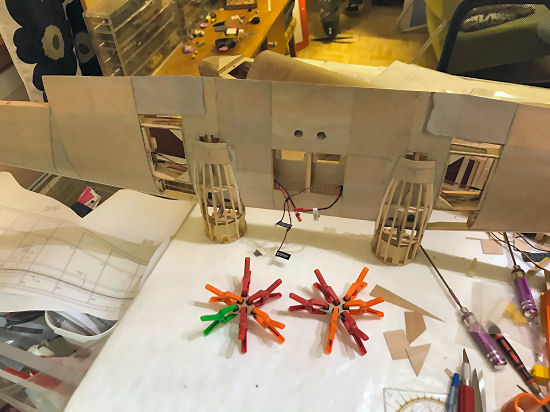
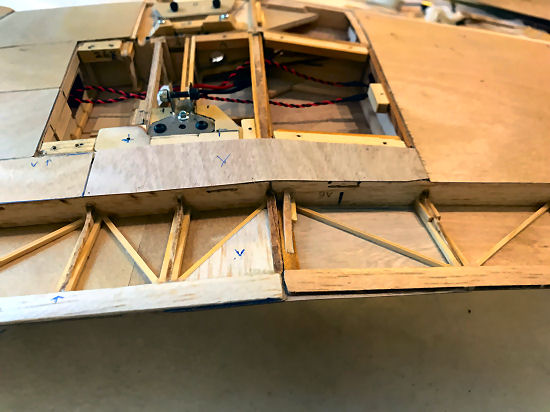
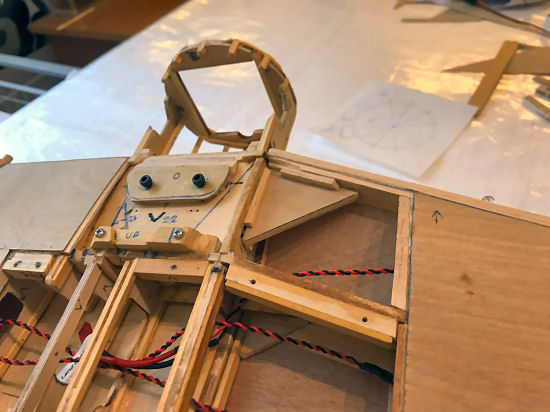
The reinforcing of the downer side of the Wing Junction
The Wing Front Edge Reinforcing
Service Door for the Landing Gear Rear Edge
Service Door for the Landing Gear Rear Edge
The Landing Gear Rear Edge
The Downer Side of the Wing
The Upper Side of the Wing
The Upper Side of the Wing
The Downer Side of the Wing
The Downer Side of the Wing
The Downer Side of the Wing
The Downer Side of the Wing
Small fixings to the junctions of motor cowlings and the wing leading edge
Small fixings to both sides of the motor cowlings for better visual look
The lowerside of the wing in the evening 12.4.2021
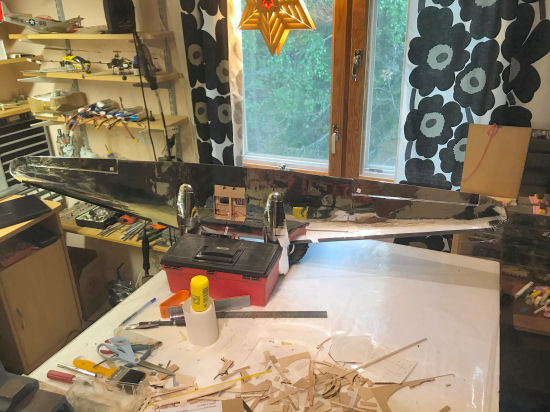
The coating of the wing with Monokote Crome started
Coating of the wing tips
The Dare DC-3 in window star light
The Motor cowlings are covered
The Flaps are fixed
The Ailerons are fixed
|
|
Dare Design DC-3 1:19 |
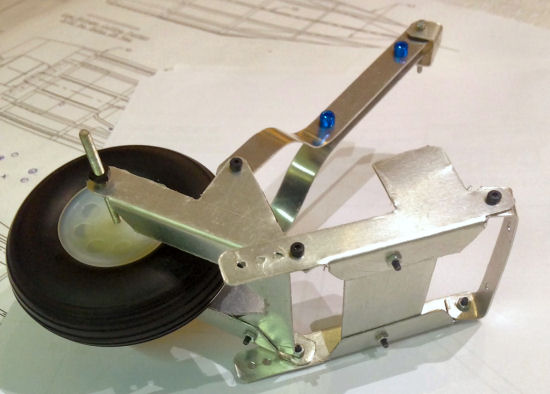
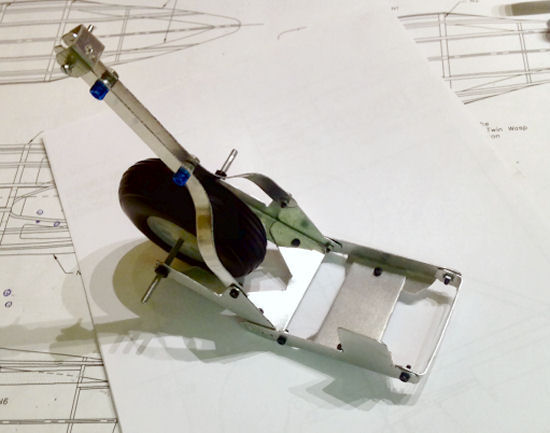
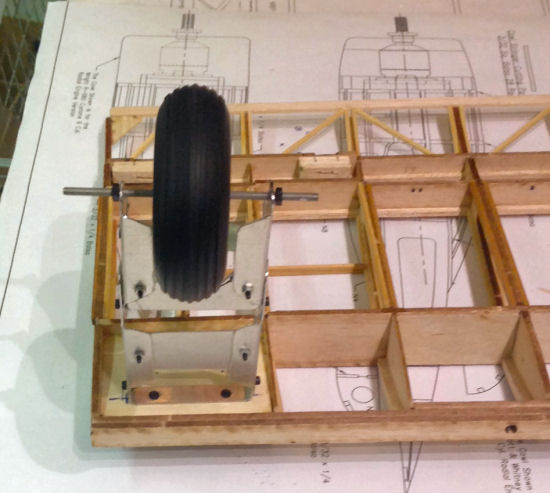
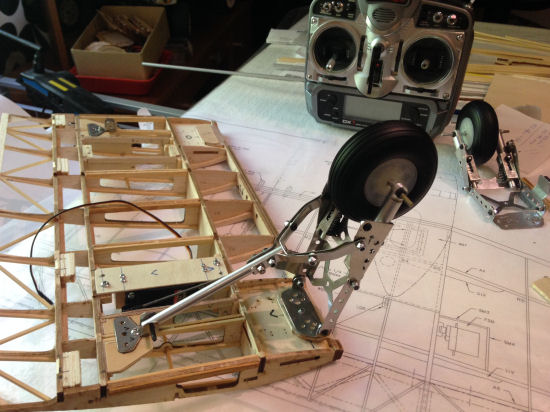
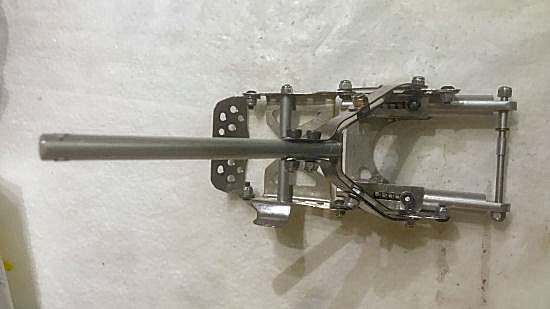
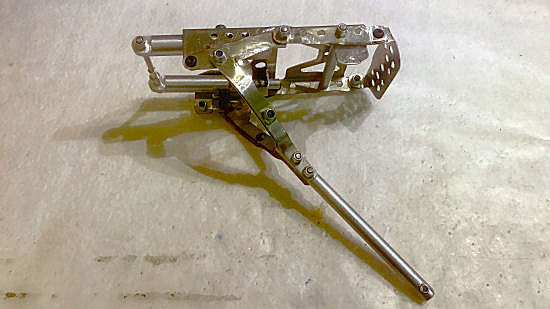
Retracts-proto made from 0,5 mm aluminiumplate for testing the dimensios
The wheels are 70 mm for better manouvering at grassfields
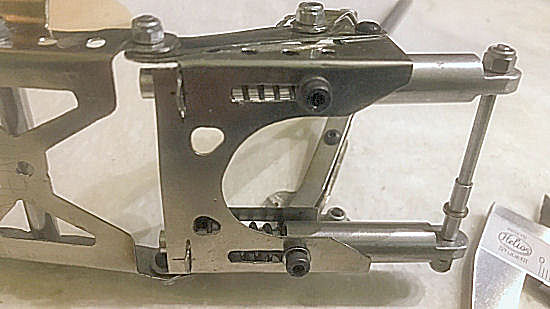
The absorbing springs are still missing, but coming
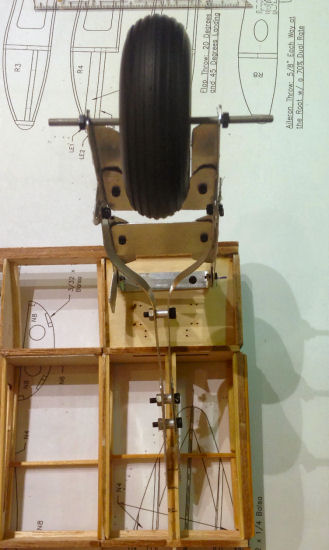
This is how the gear is at
down-situation (picture seen upside down)
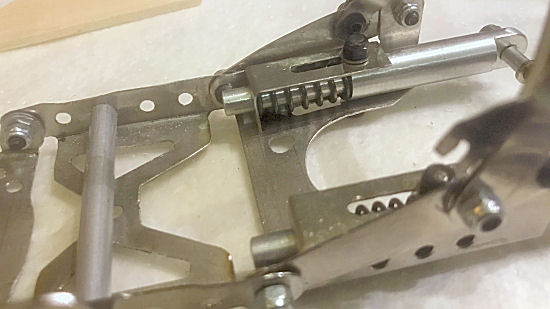
This picture looks how the absorging
springs are
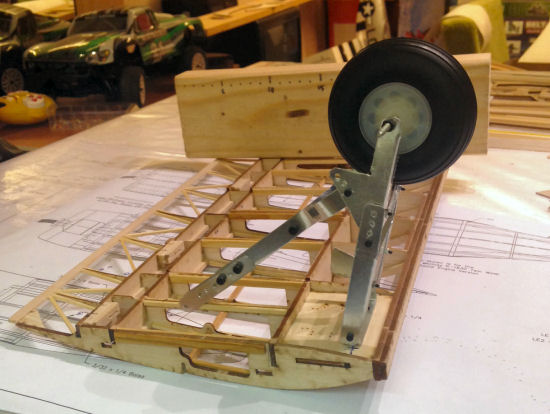
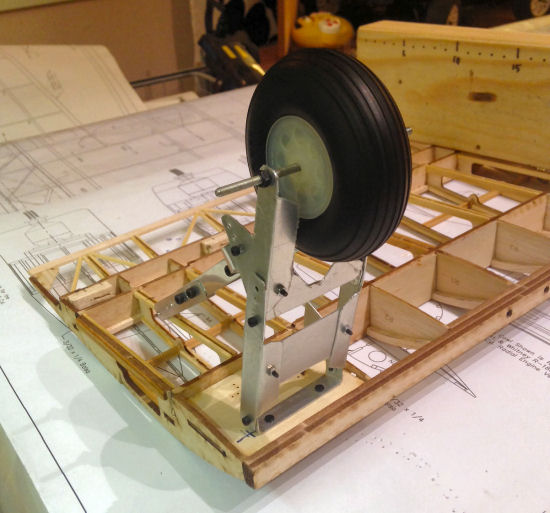
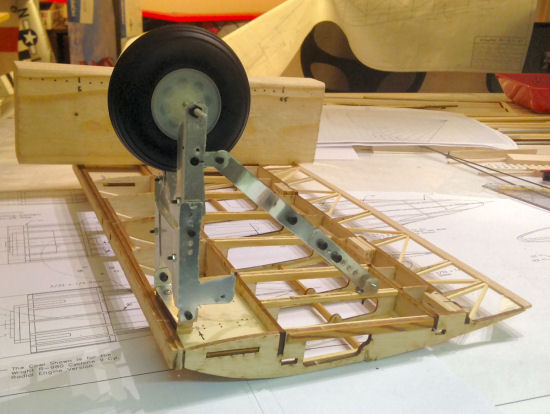
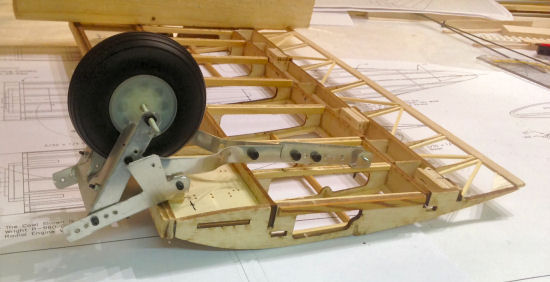
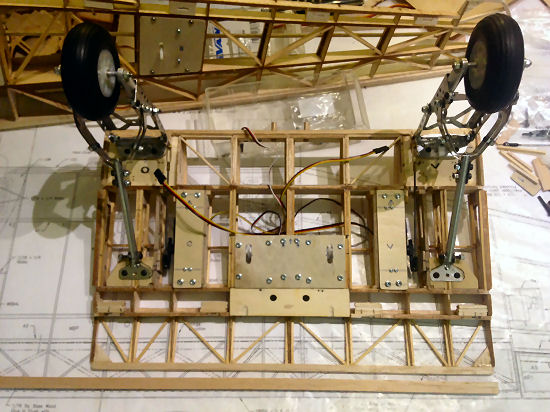
Situation seen from the frontside
Situation seen from the backside
The backside fixing added
Gears in with the backside fixing
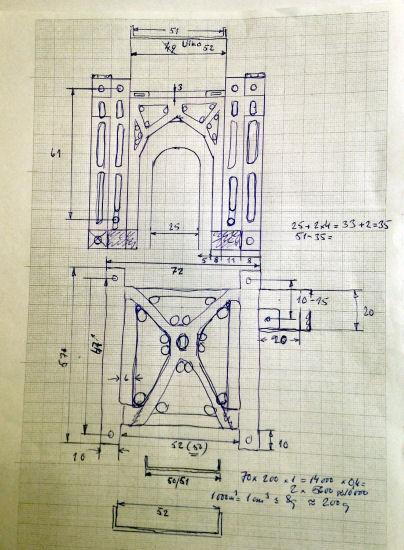
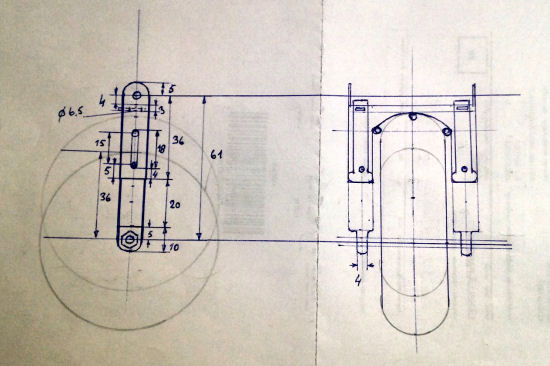
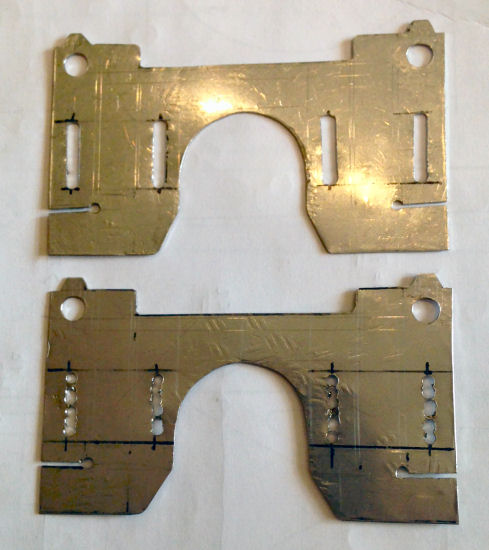
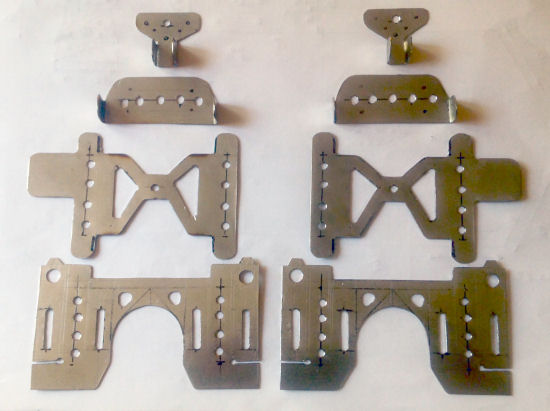
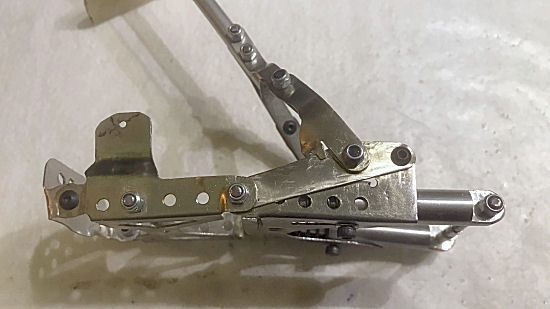
Landing Gear Parts, material: ST 0,6 mm
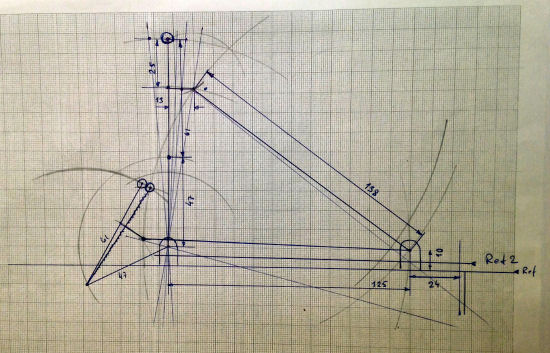
Landing gear travel dimensios
Landing gear drilled holes
Landing gear more accurate dimensios
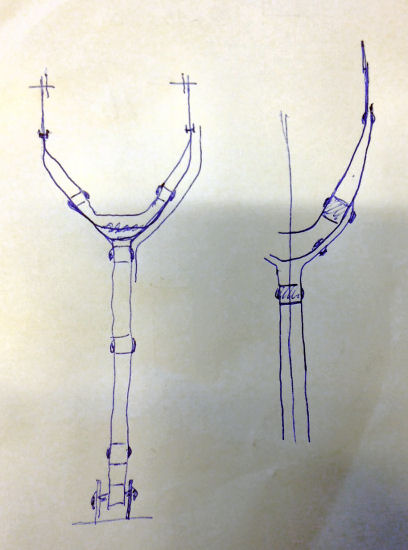
Sketch of landing gear rear strut
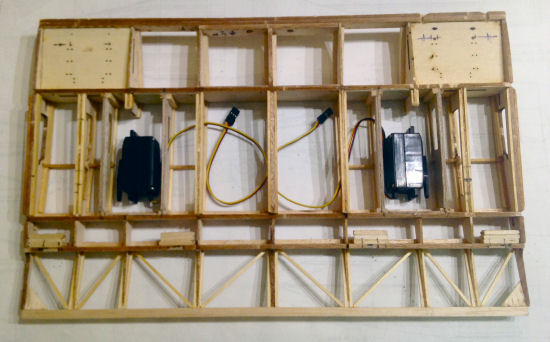
Making a bed for the retract-servos
Space for the retract-servos
Landing Gear Parts, material: ST 0,6 mm
St-parts drilled and holes partly opened
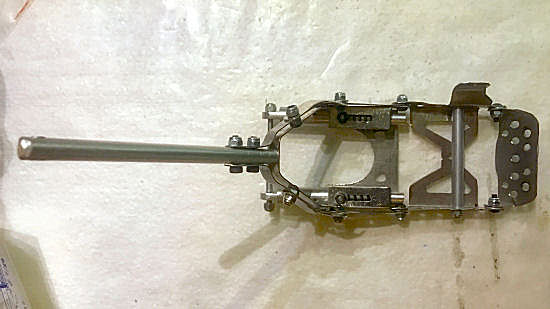
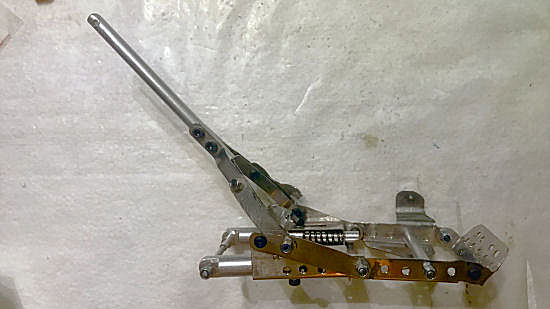
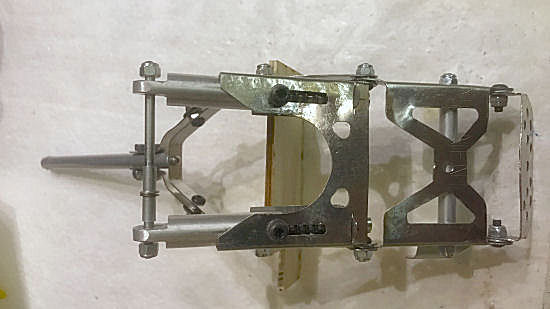
Looking like Aeroplane parts, and some lightenings is done. Next I shall do lighter versions of Landing Gears by Al-tubes, Al-plate and 2-component epoxy-glue.
Testing with the landing gear servo
Landing Gears and servos in own places
Not so beautiful, but it is working as I planned Youtube presentation
Stainless Steel Landing Gears mod. 2
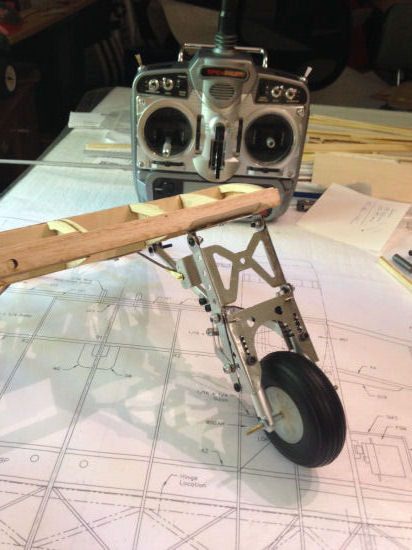
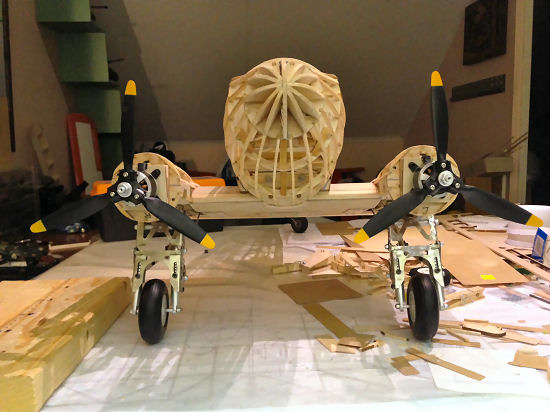
Standing on the Gears 1
Standing on the Gears 2
Standing on the Gears 3 ------------------------------------------------------------------------------ Latest pictures:
------------------------------------------------------------------------------- I am doing "Near Scale"
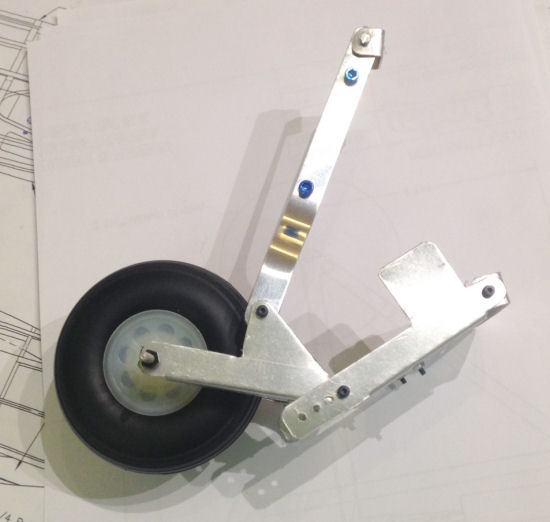
landing gears by Aluminium tubes and small plates.
|
|
Dare Design DC-3 1:19 |
Ailerons and Outer Flaps are covered
Lightened surfaces
Flaps are fixed
The Wing and the Moving Surfaces are fixed
|
|
Dare Design DC-3 1:19 |
|
|
Dare Design DC-3 1:19 |
The rudder is glued
The tips for wings and rudder
|
|
Dare Design DC-3 1:19 |
Elevator
The elevator is glued
Covering the Stabilizer with 1/64" Birch-Plywood
Adjusting the Stabilizer, not Glued yet
|
|
Dare Design DC-3 1:19 |
Service door in the tail is open
Service door in the tail is closed
The Door for easier service inside the Frame
Service door fitted on the place, not fixed
Service door fixed on the place with 2 crews
|
|
Dare Design DC-3 1:19 |
The Crew is in the Cabin the first time
The Crew and the Chairs
The Crew by LECO ®
The Crew must be lowered a'little
The new version of the Cabin, easier to take away for service and to replace the Battery
Added the rear screw fixing point for the Canopy
Cabin Rear Screw fixing
The monitor panel is under planning
The
instrument panel is now ready
Original Cabin layout
The Cabin is covered, notice the roof-window for sextant navigation.
That's it, ready to go!
The Cabin is now assembled
The Face looks a'little agressive
The Cabin itself is covered with Aluminium tape
The Fixings:
|
|
Dare Design DC-3 1:19 |
Nose covering 1 with 1/64" Birch-Plywood
Nose covering 2 with 1/64" Birch-Plywood
Frame covering 1 with 1/64" Birch-Plywood
Frame covering 2, gluing fixed with Rubber Bands
The Tail Fin is Glued
Tail Fin is Glued 2
For
easier Frame
covering
Frame covering around the Service Door
Frame covering going on
Frame covering going on, the right side
Frame covering near the tail
Frame covering is nearing the tail with Leco-blocks and Rubber bands
With rubber bands and Leco blocks The Stabilizer is fixed and glued
Small Plywood parts are not easy to keep in right form and get Grout Joints fitted OK
Tail covering
Tail covering 2
The Cabin is covered with Aluminium-tape
The Tail is covered with Aluminium-tape
The Tail is covered with Aluminium-tape 2
The
Tail is covered with Aluminium-tape
Covering the Wing junction
The Frame is covered
The
Frame is covered and and the Passenger-door is on it's place
The Frame is covered, and is seen from other direction
The nose is covered
|
|
Dare Design DC-3 1:19 |
Lightening Drilled bigger Holes
Cutted with "Remel"
The same as above, different Direction
Elevator lightening
The Steering surfaces are lightened
Frame lightening, the Flashlight is inside the Frame
Measuring the cutting edges and ranges
It
looks good, so going on...
And still going on...
The
Lightening is done from Tail to Centre of Gravity
Easy way to make drillings and sawings
The
Lightening toStabilizers is made
|
|
Dare Design DC-3 1:19 |
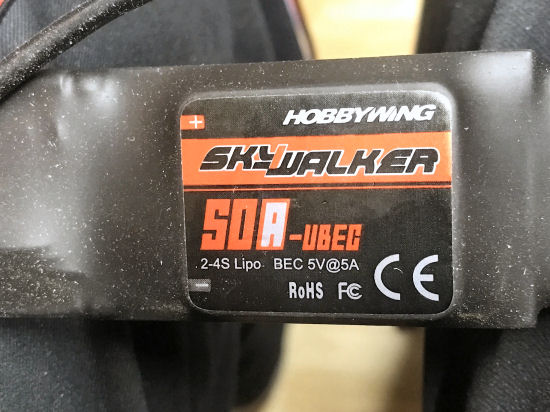
The Cables to Motor must be Lenghtened
Making the Joints as short as possible
Ready to solder
Soldered
Insulated soldered joints
|
|
Dare Design DC-3 1:19 |
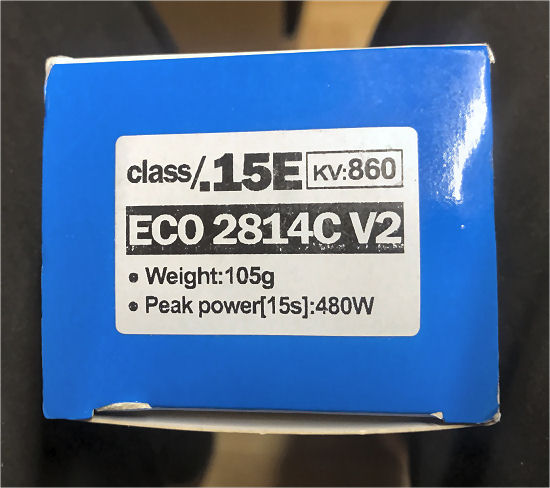
Motors
and Props Assembly of the Motor Coverings and Trimming the Motor housings in the Right Place
Motor Coverings 2
Motor Coverings 3
Motor Coverings 4
The gears up inside the motorcovers
Motor housing 1
Motor housing 2
The Motormounts
The Motormounts 2
Motor coverings
Motor covering with Plywood 0,4 mm
Motor covering with Plywood 0,4 mm is OK
Motor cowling assembly
The
motors are thrust-angeled 4 deg downside and 4 deg outside
Motor
cowling covered with Aluminium-tape and
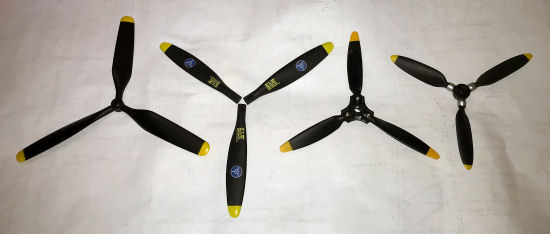
Different props for fitting by cutting shorter and measuring the static Draft
Picture coming: CW and CCW props will be tightened with double nuts to eliminate loosing
|
|
Dare Design DC-3 1:19 |
The leds inside the Wings are assembled, the upper side of the wing is still uncovered
|
|
Dare Design DC-3 1:19 |
Finalizing
The Finalizing of the Plane started
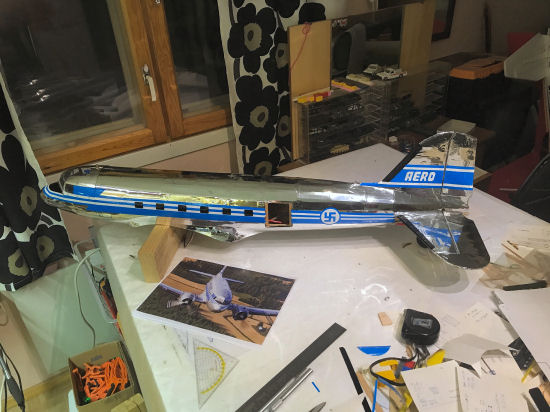
The White Band is fixed
Blue Lines added
Fixing the Nose lines
The Nose finalizing
The Nose tape-lines need a'little modifigation to look better
The Nose Tape-lines corrected, the Tail fixed
AERO-text added to Tail, Nose Tape-line corrected more
Six
Windows added to boath sides
"Finnish Airlines"
Frame and Wings are connected 1/3
Frame and Wings are connected 2/3
Frame and Wings are connected 3/3
Text OH-LCH under left Wing Text OH-LCH drawn mirror on the Backside and the Result in Frontside
Text OH-LCH on the Tail of the Frame
|

